How To Pave | The Ultimate Guide
If this is your first time learning how to pave or want to refresh your memory before you begin paving again, this article is for you. We have created this helpful guide to provide you with everything you need to know about how to lay pavers. Paving has become quite a widespread practice due to the many benefits it gives.
You can add a pathway to a muddy part of your property and beautify it at the same time. Paved surfaces will enhance your home and add value at the same time. You don’t need to be an expert to install pavers. Our easy guide will help you learn it in no time.
Planning Ahead
Before you go ahead and shop for pavers, you should do proper planning first. Going in blindly and learning while you go through the steps will add more stress and can cost you more.
APC has various products that are suitable for a variety of projects. Choosing the right paver for your project is an essential part of paving. While some pavers may work in specific applications, knowing the right pavers for your project will make it last, too.
Choosing The Right Product
When choosing the right paver for your paving project, take some factors into consideration. We will discuss them in separate categories to help you select the right paver for you.
Application and Location
When it comes to choosing your paver, you need to consider how much traffic you will subject your pavers. Is your project for pathways or driveway? Note that there’s a required thickness for pavers suitable for driveways. Because they’ll receive more pressure and weight, you will have to use a particular kind of paver.
Considering the location of your project is also crucial. Pavers around the pool need to have slip and salt resistance. These will help provide safety around your pool and prevent it from deteriorating early.
Check our full range of APC Pavers.
Area’s Size and Shape
Consider the size and shape of the area you want to pave. If you’re doing this project yourself, this factor will come in handy. When paving a pathway, try to consider using large format pavers. It will cover larger areas making your installation time shorter. Also, you’ll be creating an optical illusion making the pathway appear bigger.
Why this comes in handy is also related to the number of pavers you’ll need to cut.
Learn more about paving styles here.
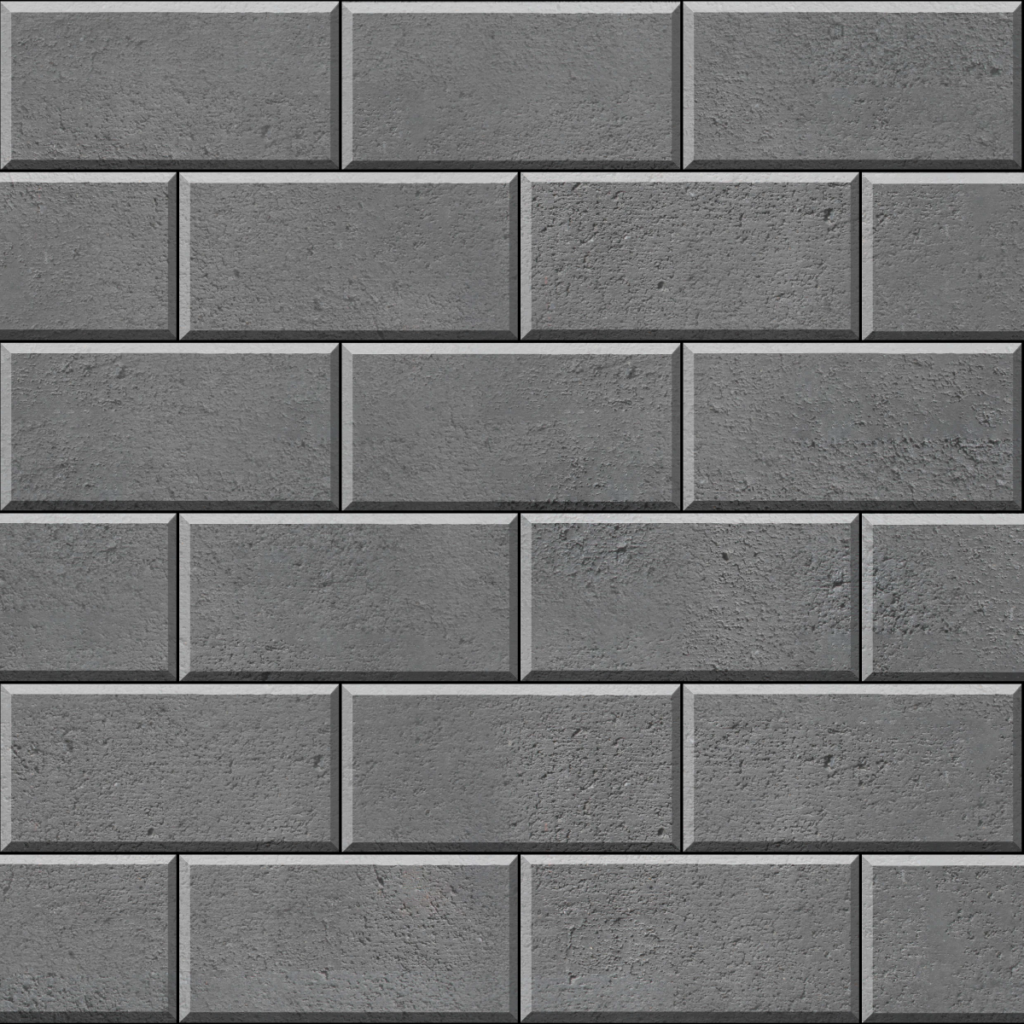
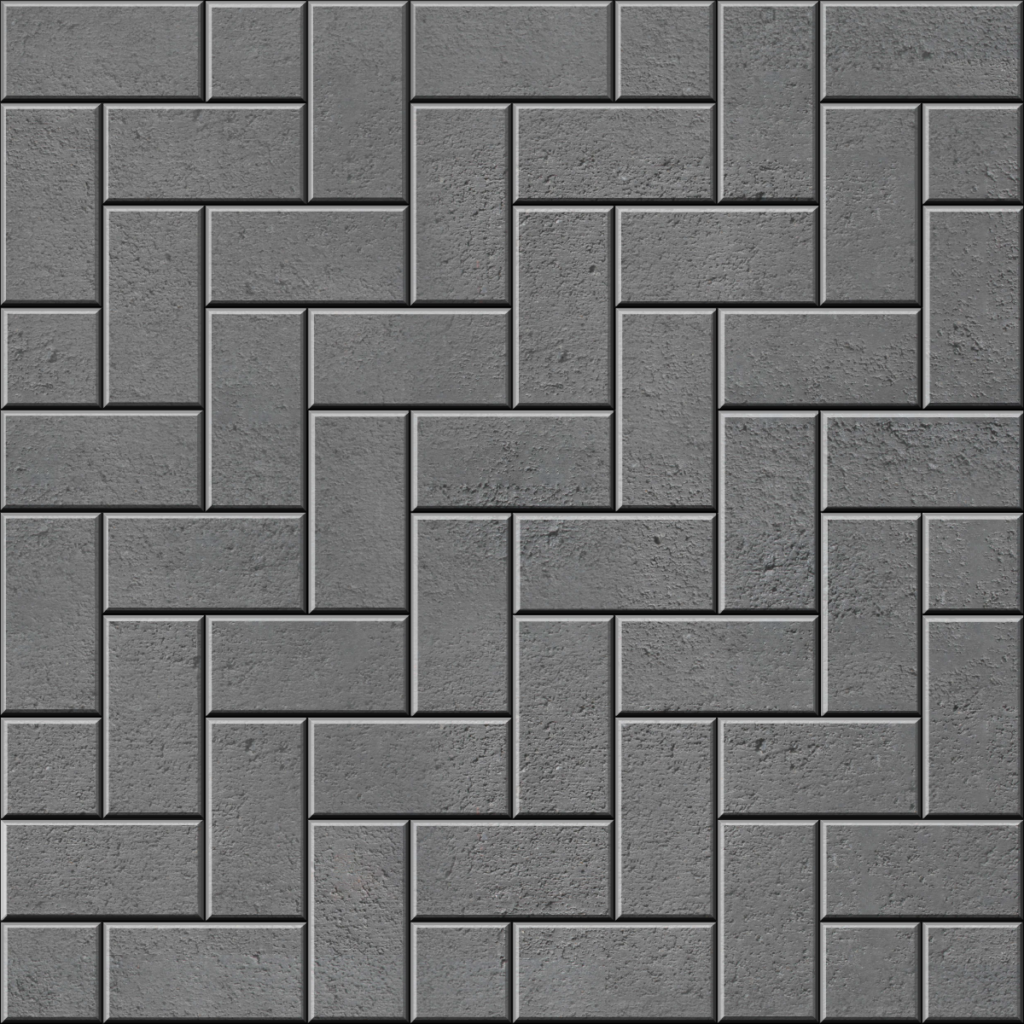
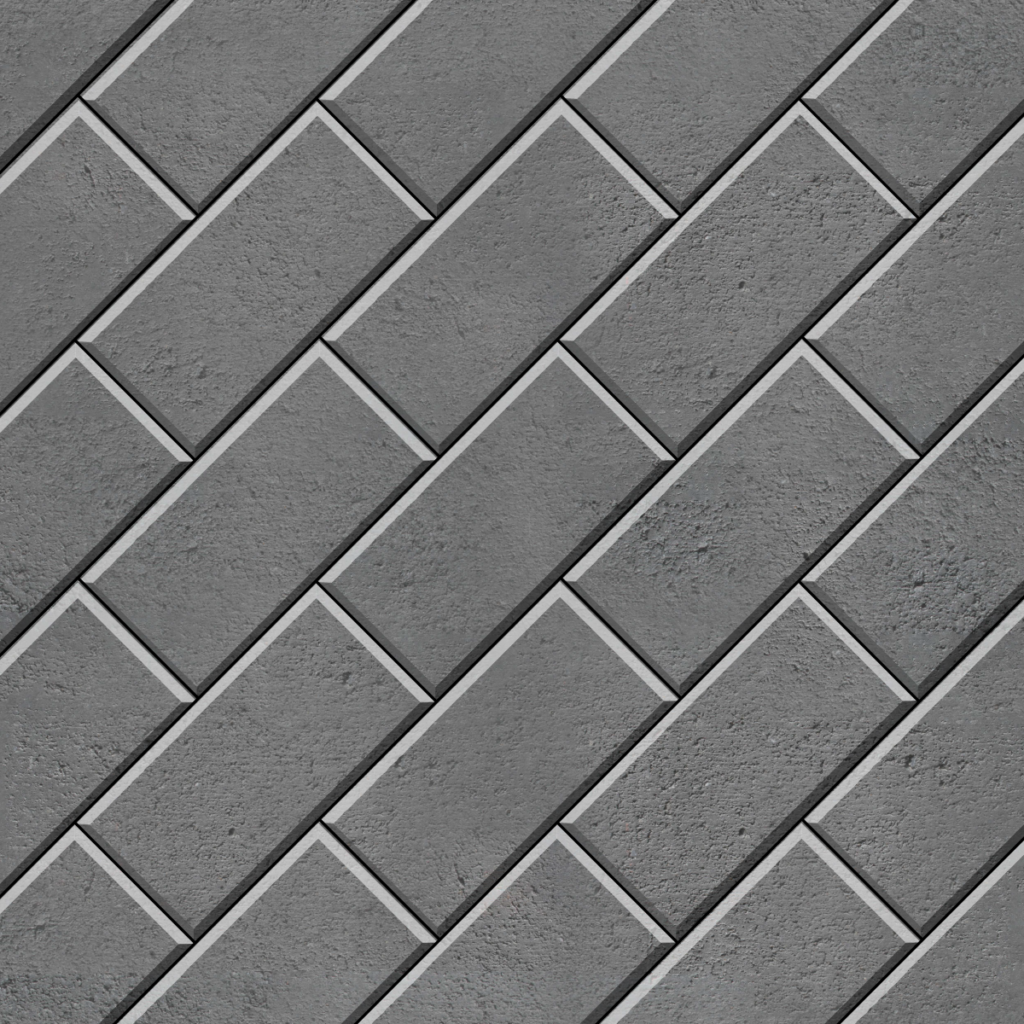
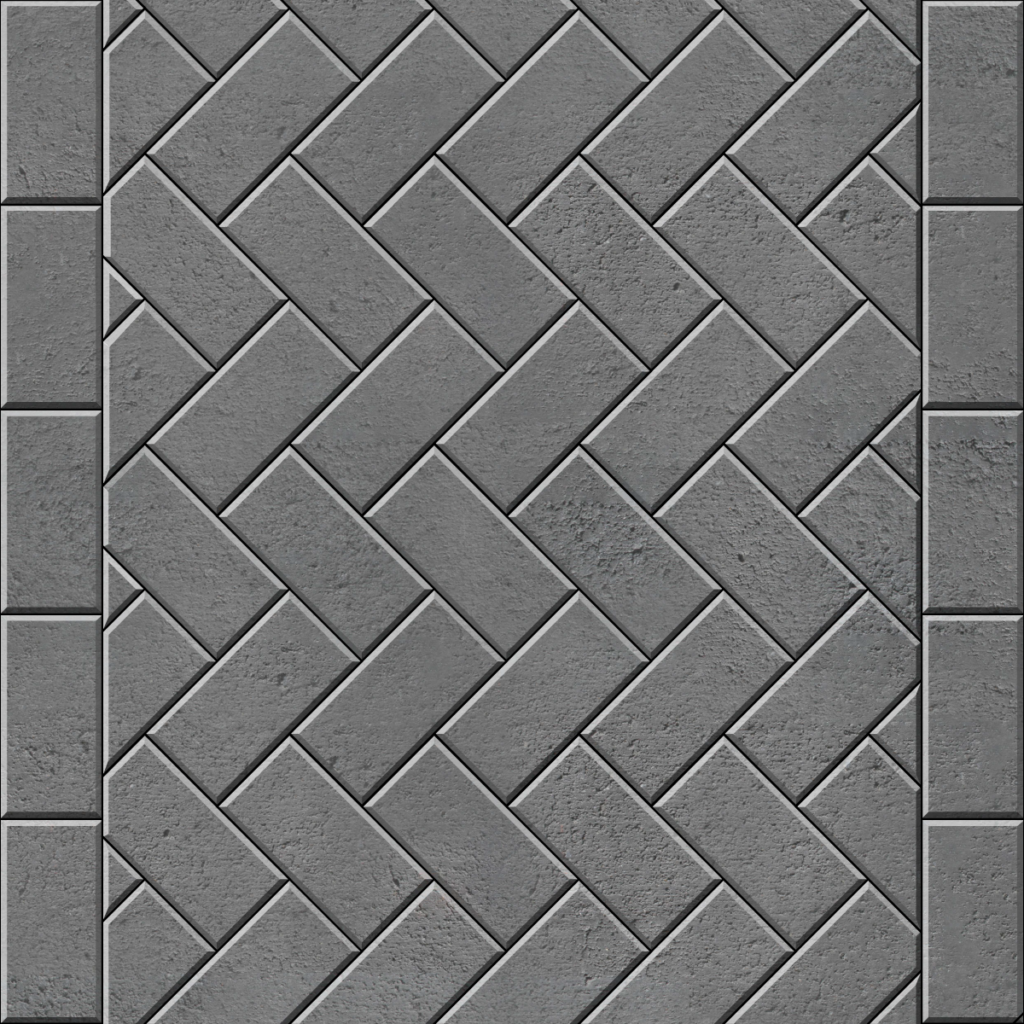
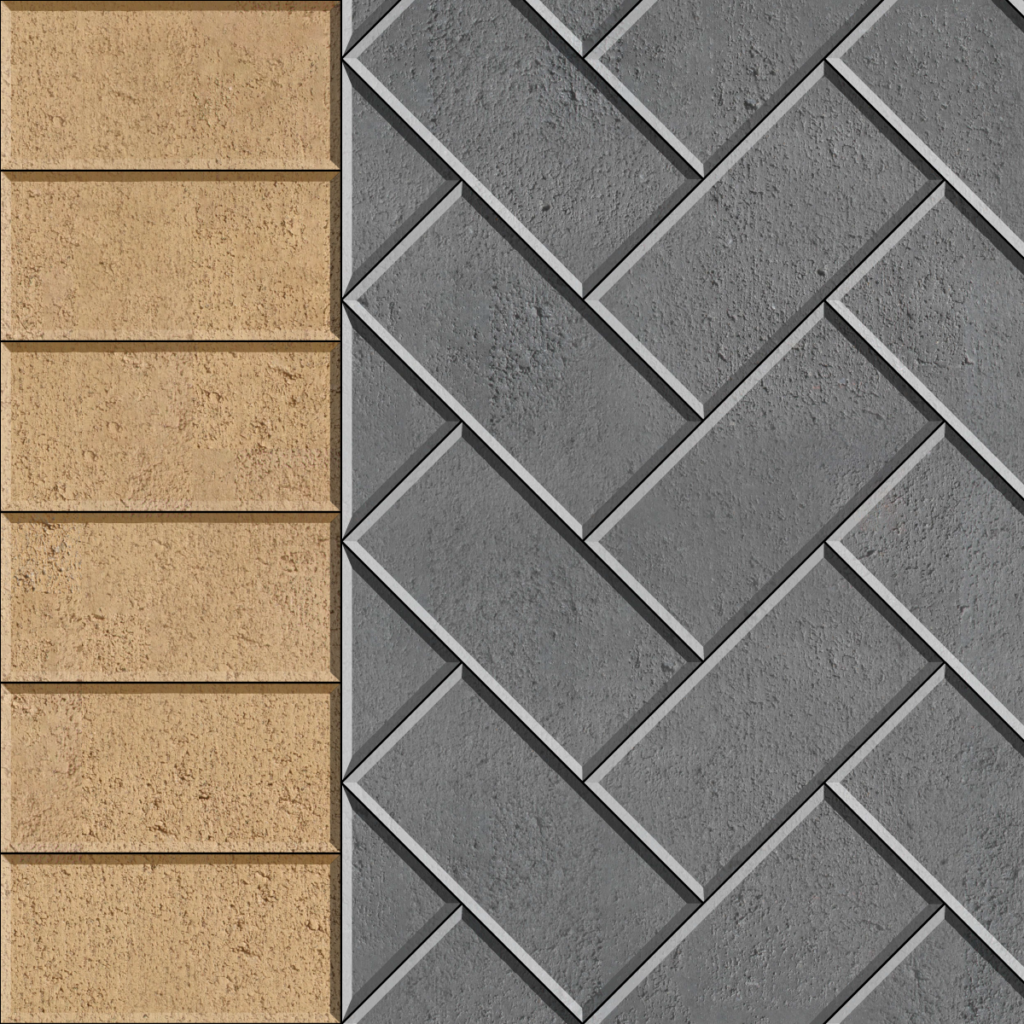
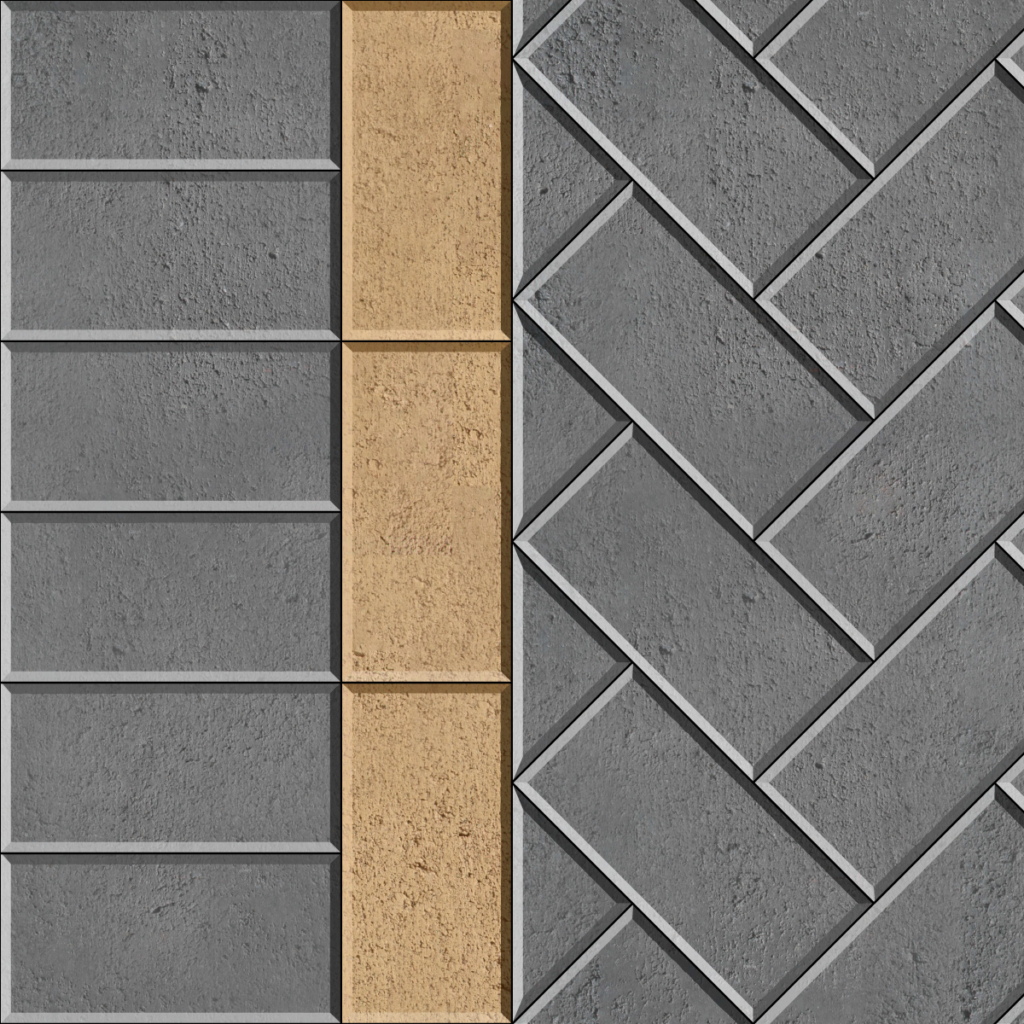
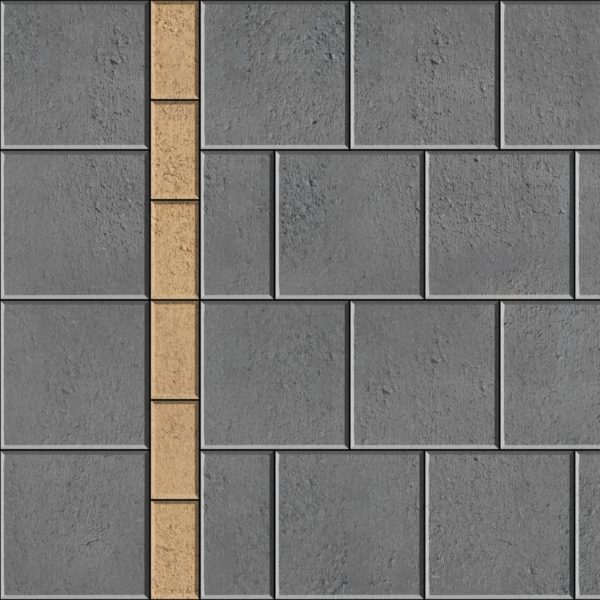
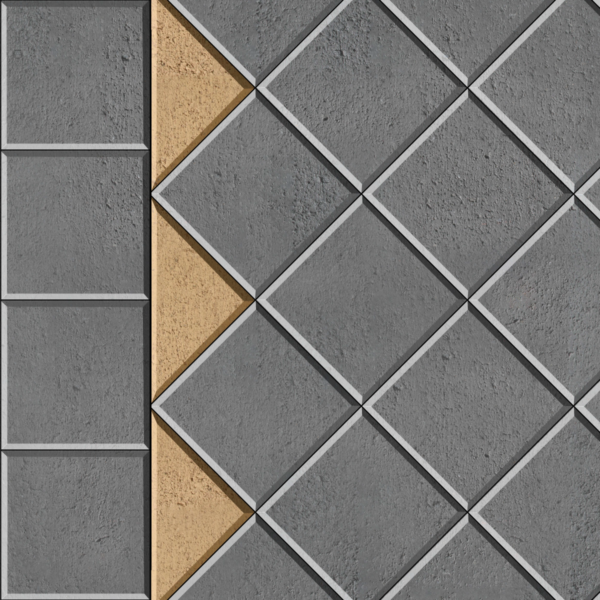
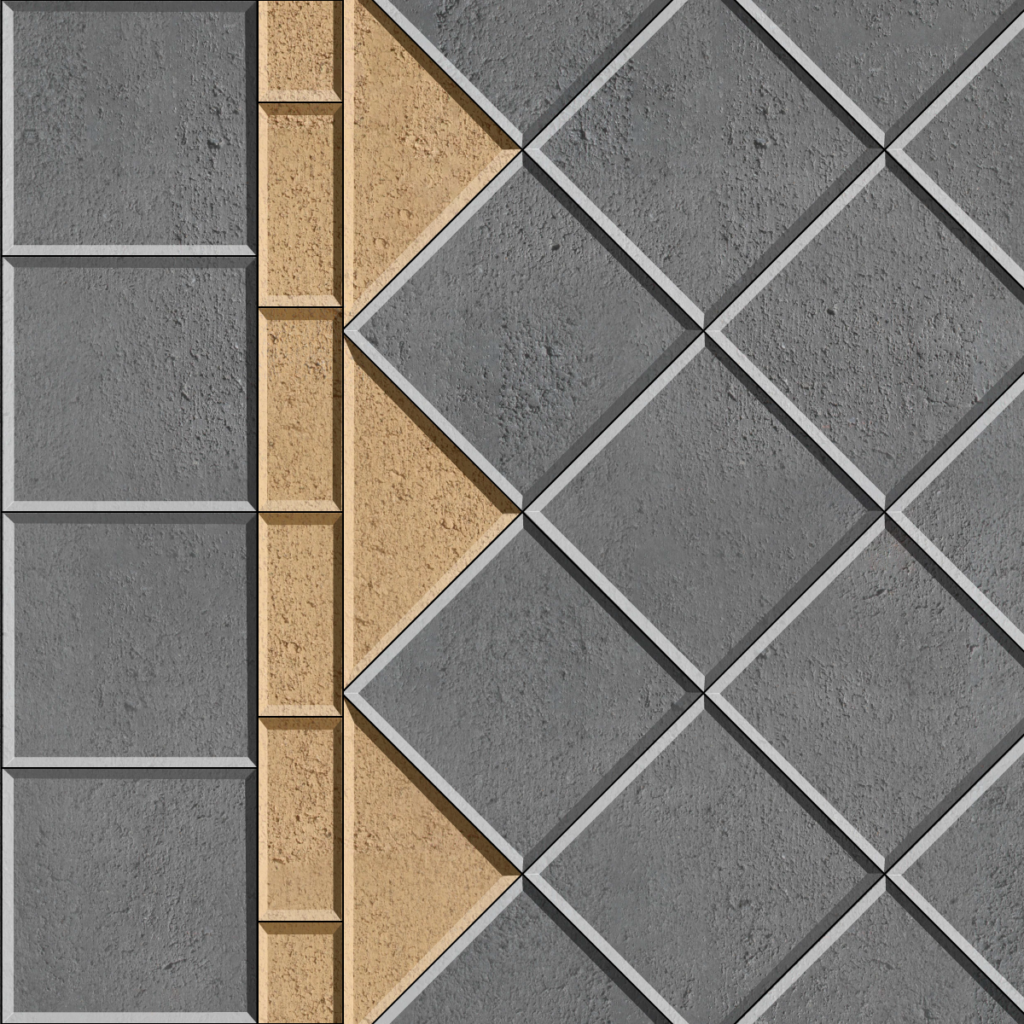
Paving Patterns
When it comes to paving patterns, you’ll have several designs to choose from. But, it’s important to remember that there are some factors you’ll need to consider when it comes to choosing your paving pattern.
- Some patterns will require you to cut pavers.
- Square, Euro Classic Athens, and Sandstone Pattern are perfect for DIY projects. They require minimal cutting, which is what makes them ideal.
- We advise laying the pavers with a 3mm gap. This allows the pavers to avoid any chipping.
Find out more on paving patterns and ideas here.
Selecting Colours and Texture
When selecting your paver, the colour and texture also come into play. The location and purpose of your project plays a vital part when deciding on the surface of your paver.
The colour comes into consideration when you’re choosing a paver for your courtyard or a patio. These will set the scene for your entire entertaining area and complement your space by matching colours.
The correct texture needs to be considered, too, since patio pavers and pool pavers will require different textures.
Hiring a Tradesman or Going DIY
When it comes to paving, the first thought you’ll need to contemplate is whether you’ll hire a professional paving contractor or DIY. You can hire a licensed contractor, and they can do the job for you guaranteeing quality work.
At Australian Paving Centre, we can put you in touch with local paving and landscaping contractors. You can request a quote online and we’ll put you in touch with the right Tradie for your project.
Our preferred tradies operate independently of APC. We do our best to match a local tradie to your project, however you must conduct your own due diligence on these businesses. Please ensure they are currently licensed and insured for the work they are undertaking.
Or you can set aside time from your schedule and chip away at the project one step at a time. After all, there’s no better feeling than admiring your handiwork once you’ve finished.
Determining Paver Quantities
After determining the colour and correct texture, you can proceed with confidence. Before you reach out and dial our phone number, you need to identify how many pavers you will need.
But how do you accurately calculate how many pavers you will need?
The easiest way to do this is by measuring the space you plan to pave. Multiply the length and width of your area to get the total square metre. Once you have figured the entire area and how many pavers you need, we recommend adding an extra 5% to the number. These added pavers will account for cuts and breakages that might happen.
We’ve provided an easy to understand figure to help you calculate how many pavers you will need.

Materials, Tools, & Safety Precaution
To complete your paving project, you will need the right tools and materials to make it a success. We will also discuss how to keep safe. Whether it’s your first time or you want to refresh yourself about safety measures.
Materials
- String Line
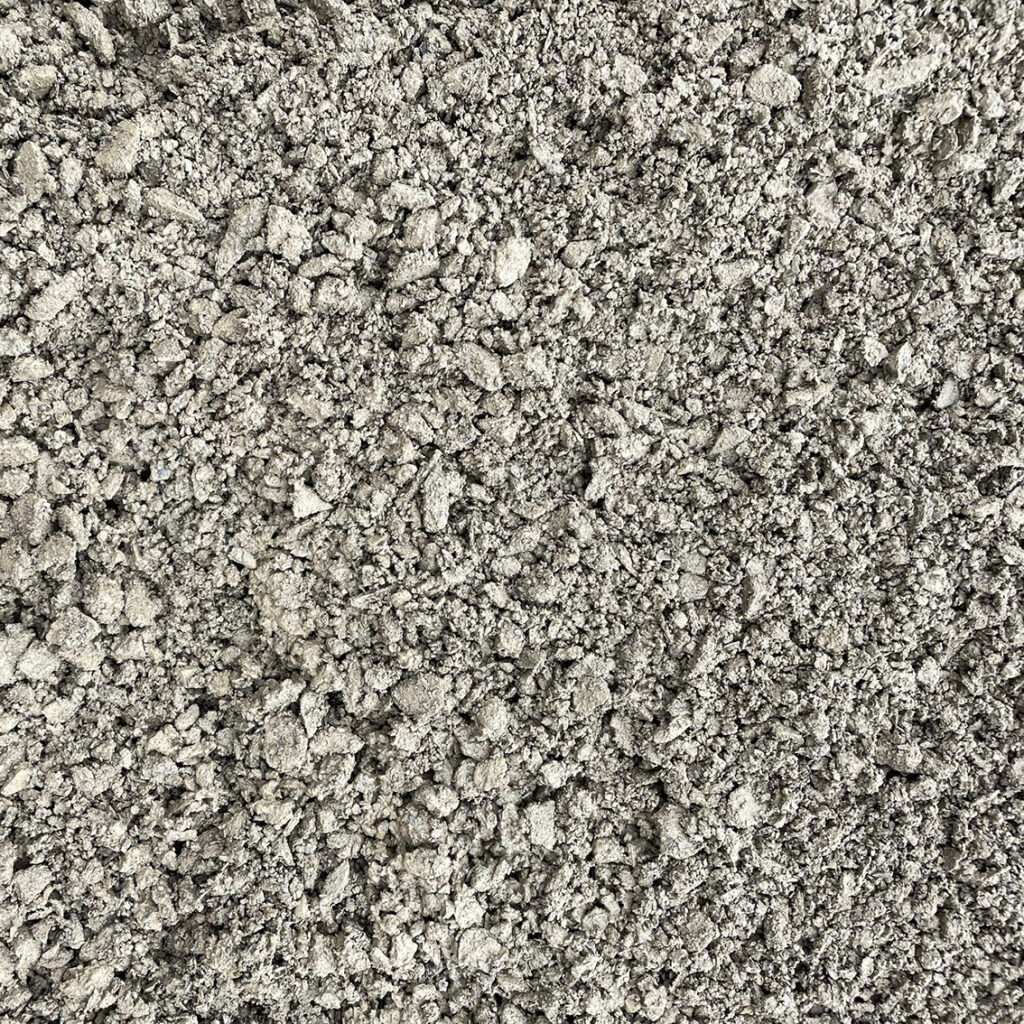
- Road Base
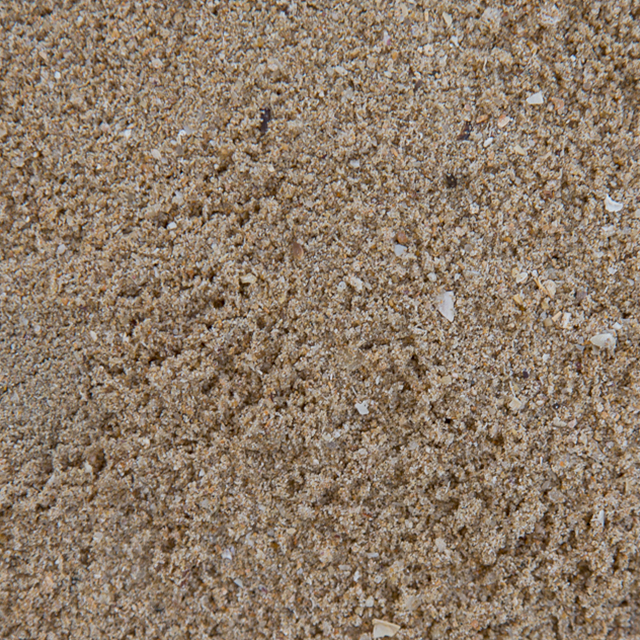
- Washed River Sand
- Marker or Spray Paint
- Cement
- Gap Sand
- Paver Sealer
Tools
- Rubber Mallet
- Brick Saw
- Wooden Stakes
- Measuring Tape
- Spade / Shovel
- Spirit Level
- Wheelbarrow
- Plate Compactor
- Wooden Float
- Trowel
- Brick Saw
Safety Tools
- Safety Glasses
- Sturdy Gloves
- Safety Boots
- Hearing Protection
- Proper Clothing
Key Tips When Paving
We’ve compiled essential tips that for sure will be helpful to your project.
1. Before You Start Digging
If your project requires digging, the best way is to contact professional digging practitioners.
Digging into the ground involves risks of hitting electrical lines, cables, or stormwater pipes.
However, if you do choose to excavate the site yourself, it’s vital to remember that the depth of your excavation should depend on the thickness of the paver you have chosen to use. You can follow our detailed instructions in the FAQ section below for the specific calculations needed.
2. Safety First
Here at Australian Paving Centre, your safety is our utmost priority. Take note of the safety tools we recommend above and make sure to practice this list below.
- Always wear eye protection when cutting pavers.
- Wear ear muffs when you are using a compactor or brick saw.
- Bend your knees when lifting heavy pavers.
- Wear work boots to protect your feet, and gloves to protect your hands.
- Always keep your fluids up.
Remember, no task is too important if it will cause an injury.
3. Poison Your Grass
If your project involves paving on an area covered with grass, the best tip our customers have ever received is to poison their grass.
The best time would be two weeks before your scheduled excavation. Poisoning your grass will help you in the long run as it will prevent grass or weeds from growing between your pavers.
4. Preparing for Delivery
Once you have decided on the number of pavers you need, you may have placed an order. If you’ve ordered your Australian Paving products for delivery, check if your property is accessible.
See if you can prepare a safe area that’s wide enough for the forklift to drive through. Forklifts usually take 2.8 metres of clear space, and they have a height of 2.9 metres.
Installing The Pavers
Installing pavers can be done in two different methods. The pavers we provide here at Australian Paving Centre can be laid with either flexible or rigid base installation.
Flexible Installation
This method of installation is completed by laying pavers on a compacted road base and bedding sand. This is very common among backyard paving projects. You can still use this method for driveway paving by using small format pavers or any paver that has a thickness of at least 50mm.
See illustration below.

Rigid Installation
Laying pavers on a concrete base is commonly known as rigid installation. This type of method is best suited when the condition of your soil is poor or made of a poorly drained clay. You can lay your pavers on a driveway with this method by using large format pavers or any paver that has a depth of less than 50mm.
See illustration below.

3. Compacting Road Base
A road base is used to build up areas, set levels, and provide a strong and stable layer to support the laid pavement.
These are the ideal measurements you should aim for:
- For walkways – 75-80mm thick layer; you can reduce this if your subgrade is sandy or is non-reactive, but that does add considerable strength and guarantees job quality
- For driveways – 100-150mm thick layer
You can allow 10mm extra to the layer which will even itself out once compacted. Use your hearing protection gear and go over the area with a plate compactor. To ensure that you have the entire field covered, go about it thrice in different directions.
Also, remember to extend compaction to the outer perimeter of the paving work. Doing this will ensure the longevity of your edge restraint and will reduce the incidence of outer perimeter paving subsidence, which is very common with standard paving practices.

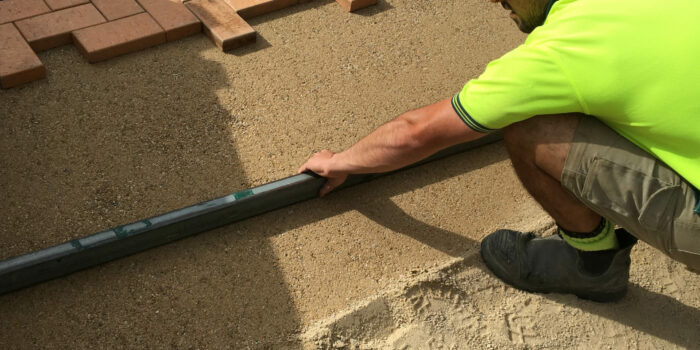
4. Screeding Sand
This step requires the utmost patience and finesse. You will need to lay the paving sand and screed it to a depth of 30mm. It’s important to note that you should not hasten in doing this step. Screeding the paving sand in a hurry could result in an uneven level when laying your pavers.
Here’s the most effective way of screeding sand:
- Use two screeding straps set accurately in the bedding sand in the required levels, and placed approximately 1m to 3m apart. The screeding straps are about 100-125mm in width and 2-3mm in thickness. Length of the straps can vary from 1.5mtrs to 3mtrs long.
- Then, use the screed rail to level off between the screeding straps. Once level, remove the straps and smooth off the sand with a trowel prior to laying the pavers.
Remember to keep the thickness consistent across the entire area to ensure the pavers will settle evenly as well.

5. Setup A String Line
Bring out your wooden stakes and string as you set up a string line. This will be your guide when laying the pavers. It will also help you measure the exact height to complete an even surface.
6. Check for Square
After setting up your string line, it’s best to start in a corner or along an edge, such as a house footing. Place the pavers on the screeded sand using the desired pattern. Laying your first row of pavers needs to be thoroughly checked. These will serve as a guide unto the next row of pavers you’ll place.
Check that each paver is in a straight line. On your second row of pavers, see to it that space next to it creates a 90-degree angle with a square set. You can adjust the laid pavers with a trowel to correct errors in alignment.
Lay the remaining pavers and keep in mind to leave a gap between with a measurement of 2-3mm. Always work from the top of pavers that have just been laid so as to avoid disturbing the screeded bedding sand.
7. The Edge Restraint
An edge restraint is required if the paving does not abut a solid structure, this is to prevent pavers from spreading or opening up after a time.
The most common method applied is finishing the unsupported edges of the paving with a concealed concrete edge strip. It should be kept at least 10mm below the finished level to allow for compaction.
As an alternative, you can also use exposed concrete strips for the edge restraint, or set it on a concrete base.
8. Pave Set
If you’re paving a driveway, footpath, patio, or any other surface that is expected to experience high foot traffic, Pave Set is required to fill the gaps between pavers, blocks, and bricks. This is done to secure their positioning and eliminated movement or shifting.
Pave set is made from a selected blend of sand, binder and gelling agents, It does not set hard, rather it gels the area between the pavers and may require maintenance in certain areas over time.
Some Precautions
Before using the pave set:
- Do not use it on your surface if rain or high winds are forecasted within 3 days of application.
- Do not use it on pavers that are not on a well-drained base.
- Do not use it around swimming pools or constantly wet areas, as it does not prevent water from penetrating gaps.
- Do not use on steep inclines.
- Do not use in gaps wider than 4mm.
- Ensure the applied area is dry by covering it with plastic 24 hours before application. Check to see there is no moisture after 24 hours. This is very important for recently laid pavers.
Applying the Pave Set
- Make sure that the paved area is dry and clean of any loose material such as dirt or sand.
Spread it evenly over the surface of the pavers, then sweep it into the gaps.
Note: A good practice is to pour the Pave Set along the joints to minimize the potential for segregation of the polymer from the sand. - Avoid sweeping the Pave Set over long distances, as this will cause segregation and inconsistent gelling.
- Compact the Pave Set into the joints using a vibrating plate or rubber mallet.
- Apply more Pave Set, sweep and compact until joints are filled. Please note that Pave Set will only work effectively if applied correctly between the vertical walls of the pavers.

- Thoroughly clean the pavers by sweeping with a fine bristle broom to avoid the polymer and binder from sticking to or staining the surface of the pavers during wetting.
Note: Using a blower ensures that all residue is removed from the top of the pavers. - With a fine mist spray, wet the paved area until Pave Set has efficiently absorbed the water through its entire depth.
Note: For best results, target areas of no greater than 2m2 at a time before moving on to the next area. Do not flood the area or use high pressure, as this will impede the gelling process. - Allow the Pave Set to dry and gel for at least 2 days (longer during cooler months)before
sweeping or allowing heaving traffic on the area.
Note: It is important to allow the approximate drying time for Pave Set to work effectively. - You may need to top up gaps every year, especially after heavy rains. To do this clean out the gap before applying the Pave Set and soak again with the steps above.
9. Compact
You can start compacting your pavers. Remember to keep safe while doing this step.
To ensure that your pavers won’t crack or chip at the edge, place an old carpet under the compacting plate. This has proven to be helpful if you have no prior experience in compacting pavers.
For a more professional finish, it is better to hire a mechanical vibrating plate compactor fitted with rubber or carpet base.
A layer of sweep sand spread over the surface of the pavers will protect the pavers from damage during the final plate compaction of the laid pavers.
10: Hose Down
The final step is to remove excess sand by spraying the pavers with water. The wet sand will help them settle between the gaps.
Let it dry and avoid walking on the pavers for 24-48 hours. After that, you can bask in the beauty of your handiwork.
You can check our extensive step-by-step guide on laying pavers here.
Paving Completion
Now that you’ve completed your paving installation, there are still a few more steps to do before you can say you’ve truly finished.
Finishing and Maintenance
Here at Australian Paving Centre, we offer durable pavers that can withstand the elements. But, there are a few methods that will ensure your pavers will last far longer.
Refer to this document for more detailed information.
Sealing Pavers
The most common inquiry we receive from incoming calls and customers dropping by our store is ‘do I need to seal my pavers?’
Our answer always stays the same ‘You don’t need it but, we recommend you do.’
Sealing your pavers will make them last longer, and it will reduce maintenance.
Without sealing, your pavers can easily stain when subjected to sauce, drinks, and different elements. Cleaning these stains can be tough; but, sealing your pavers will make it easier.

Choosing The Right Sealer
There’s a wide range of sealers in the market today. It can be overwhelming if this is the first time you’re buying a sealer. The easiest way to select which is right for you would be choosing the type of sealer you need.
Sealers have two main types. There are penetrating sealers and wet look sealers. Determining which type you need will allow you to determine which sealer is right for you quickly.
- Penetrating Sealer – These types of sealers provide a water-repelling coat that will not change the appearance or colour of your paver.
- Wet Look Sealer – Simply put, they will make your paver look wet. This, in turn, will change the colour of your paver.
Consider how the sealer will affect the texture of your paver. Some can affect slip resistance, which is a vital factor when choosing sealers. Whether your pavers are for your pool area, patio, or pathway, you need to factor in the weather as well. The sealer can significantly affect the surface of your paver, which in turn can pose dangers of slipping when it suddenly rains.
How To Seal Pavers
Sealing pavers is easy. You can apply it by using a pump spray or use a lambswool applicator. Remember to apply it to a dry paver; otherwise, the paver won’t be able to absorb the sealer.
Learn more about the different type of paving sealers here –

Cleaning Your Pavers
Proper maintenance includes cleaning your pavers. Keep them in pristine condition, and you’ll be rewarded on how long they will last.
Removing Efflorescence
You can usually see this as a white powdery deposit on your pavers. Efflorescence occurs naturally in cement-based products. You can get rid of these by broom and wash it out with water.
How to Treat Efflorescence
Brush first with a stiff-bristled broom. Sweep off the white powder and brush the paver slightly with damp sand.
Check more information about efflorescence here –

Frequently Asked Questions
- How much road base will I need?
A strong foundation requires a road base. If the paving is for a driveway or is unstable, we recommend consulting a qualified engineer before proceeding with your project.
For every 100mm depth of road base material required to prepare the paved area, allow 1 tonne of road base material for every 6m2 of area to be filled. Calculate by:
Area to be paved ____(m2 ) x 0.167 (allows for 100mm thick road base) =____ tonne of road base required
- How much bedding sand will I need?
30mm of bedding sand (washed concrete sand) is required under all paving. 1 tonne will cover approximately 15m2.
Calculate by: Area to be paved ____ (m2 ) x 0.05 (allows for 30mm thick bedding sand) = ____ tonne of bedding sand required
- How many pavers joint filling sand will I need?
Jointing sand is used to fill the gaps between the paving units once laid. A 40kg bag will cover approximately 15m2 of paving depending upon the size of joint spaces.
Calculate by:
Area to be paved ____ (m2 ) x 0.067 (allows for 3mm joint spaces) = 40kg bags of jointing sand required
- How much concrete edge restraint will I need?
Paving, not abutting another structure, will require a concrete restraining strip, a quarter of a cubic meter of concrete will be required for approximately 50 lineal metres of edge restraint.
Calculate by:
Length of edge restraint ____ (m) x 0.005 (allows for 100mm triangular edge restraint) = ____ m3 of concrete required.
- How do I calculate the excavation depth?
The excavation depth is:
– the total combination depth of your paver,
– compacted bedding,
– sand layer, and
– compacted base course layer.
To better calculate the needed depth, excavate part of the paving area until the sub-grade has been exposed and do a “heel test”.
About Australian Paving Centre
Australian Paving Centre is South Adelaide’s leading paver supplier since 1986. We offer the most extensive range of pavers and retaining wall supplies. We also provide an extensive blog with in-depth guides and the best tips and tricks for home DIY projects.
Aside from this, there are valuable benefits to working with Australian Paving Centre, including:
- Franchise stores with a walk-in display area. You can browse our wide array of products at your leisure.
- Access to local paving and landscape contractors in Adelaide, South Australia. You can request a quote online and we’ll put you in touch with the right Tradie for your project. Our preferred tradies operate independently of APC. We do our best to match a local tradie to your project, however you must conduct your own due diligence on these businesses. Please ensure they are currently licensed and insured for the work they are undertaking.
- You can request for a FREE quote (paving or retaining wall) today, and we will connect you with a local contractor in your area.
- We will beat any competitor’s price for the same products in South Australia. APC will match an identical product of a competitor or offer you a better deal. Guaranteed!
- Our personnel have a diverse knowledge of products, ensuring we provide you with your needs and go beyond your expectations.
- We offer seconds on selected products which are available when you visit a local store near you.
Do you have questions that are excluded in this guide? Our friendly staff would be happy to help. Drop by a local store near you.
There is no set square metre (m2) rate for paving in Adelaide. After analysing thousands of jobs our research shows that if a paving project was to cost $5,000, the product materials will cost about $1,666 or about 33% of the total job or quote. In addition, the breakdown of the labour for this $5,000 project would cost about the same as the product materials which is another $1,666 or about 33% of the total job. The balance of these costs of about 33% are made up of sand and rubble, dump fees, earthworks and other miscellaneous costs
Visit us at APC to pick up a free sample!
Or, send us a product enquiry or request a quote online